Welcome

We have moved! Check out our new blog: Everyday Moodlings.
Showing posts with label storage. Show all posts

Thursday, April 17, 2014

Project Storage: Alcohol Inks

Hey Crafters!

This week we are focusing on alcohol inks.  This has been a fun week for me.  I don't use my alcohol inks very often so I took the opportunity to really play with them this week.  It has been quite fun and I look forward to posting my work tomorrow.

Since I do not have many bottles I store them neatly inside a plastic container and placed on a shelf.  I also have a small plastic palette that I use when working with them.  This is a technique I found via Tim Holtz.  You can leave the ink on the palette and re-activated it with blending solution.  A pretty neat trick. :)


I also updated the My Creative Life 2014 Pinterest board.  As always I am amazed by people's creativity.  The picture below is actually for Stickles, but it would be wonderful for alcohol inks too.


So how do you store your alcohol inks?  What tips and tricks can you share?
Jeri'

Wednesday, April 9, 2014

Charm Storage

Happy Wednesday,

It's Wednesday and that means it is time to talk storage.  Last week we covered sticker storage so let's talk charm storage today.  I purchased this cabinet (I actually have two of them side by side) 10-15 years ago from The Container Store.  I LOVE The Container Store.  So many storage options.  I don't live closed to one now...so I have to shop online.  Which is probably a good thing.  A girl could run up quite a bill in that store. :)


Each drawer is pretty deep and holds a lot of embellishments.  I store way more then just charms in each drawer....but the charms fit nicely too.  The drawer below is labeled hearts.  It includes charms, buttons, eyelets, words and more.


I also updated the My Creative Life 2014 Pinterest board.  There was not much to choose from this week, but as always I am impressed with the many, many ways crafters use spice racks.  I wonder if anyone actually uses them for spices?!

Be sure to take a minute and share how you store your bits and pieces.
Jeri'

Wednesday, March 26, 2014

Sticker Storage

Happy Wednesday!

For as long as there has been stickers....there have been storage issues and solutions.  Today there are many options on the market and many different solutions.  I find none of them to be perfect, but all of them have their pros.  The trick is the find the one that works for you.  You know it works when you can find what need and use it on a regular basis.  Your storage solution doesn't work if you find you are never using that supply.

My stickers are stored in several places.  The majority hang from one of my trusty shoe racks. :)


My themed and letter stickers are in a file drawer.  And finally those stickers that were a part of a kit or package generally stay with the paper they came with.  I don't tend to use stickers as much right now, but that is not a reflection of my storage solution.  Most of my stickers are meant for scrapbooking and I have only just started to re-discover my joy of scrapbooking.  I imagine over the coming year I will use them more and more.

I also updated the My Creative Live Organizing Pinterest board.  Lots of cool ideas if you need some inspiration.  So how do you store your stickers?  Is it working or is it time for a change?
Jeri'

Wednesday, March 19, 2014

Storage.....Buttons

Happy Wednesday!

Time to talk organizing and storage.  This week we are focusing on buttons.  I am in the process of updating my button storage.  Which I think is a theme for crafters.....we are constantly re-organizing.  Most of my buttons are organized in the trays pictured below.  This are deep drawer organizers intended for office supplies.  But that never stops us, does it.  We can always re-purpose items.  Plus they are pretty inexpensive.  I believe I purchased them for $5 a piece at Walmart.  I have 6 of them and they are housed in a shelving unit that supports my desk.

Years ago I started organizing by color and I am so happy I did.  The only buttons that are not in these drawers are my white buttons.  Because I have toooooooo many of them.  Imagine that.  LOL!


So I have been weighing my options.  I have these metal buckets....which I love, but also hate.  Why do I hate them?  Because I can't see what is in them.  Currently they house a variety of embellishments and multi-colored ribbon.  But because I can't see what is in them I never use anything housed there. UGGGGG! Time to make a change.


While updating the MCL Pinterest Board I found many, many photos like this one.  I am planning on swapping out my buckets for Mason jars.  Now I just have to figure out what to with the buckets.....don't know if I can part with them. :)


Now it is your turn.....how do you store your buttons?
Jeri'

Wednesday, March 12, 2014

Mission: Organization!


Hello Wednesday, Shirley here! Today we talk about organization.  Your mission, should you choose to accept it, is to organize those tags.

Some of you may want to keep them visible so you'll remember to use them. (Out of sight, out of mind, right?) Others, like me, have way too much stuff to have everything visible all the time. Maybe you store them in boxes, or pockets , or trays, or on a book ring.


Check out our Pinterest Organization Board. Below I share two organization photos from the board that are my favorite. 

This is such a cute tray storage idea, below. It makes me want to collect pretty tags like this! I like the cellophane wrappings, too!


This adorable dress form is from an ETSY seller, BlissfulElements. But of course it is sold already. I think I may "need" one of these!

https://www.etsy.com/transaction/5705900

************************************
My storage is no way as cute as the ones above, but I'll have to be grateful that I have stuff and a space to put it all, right? ;-)  I store my tags in a frosted clear lidded box that measures 10.5" x 9" x 8" deep on a shelf in my art studio. I feel more like an artist if I call it a studio! ;-)


Inside the big box are tags in bags and boxes and some loose tags. I will admit to reorganizing the box before taking photos! There are Avery brand manila tags I've purchased, cork tags, wood tags, die cut tags, tags I've distressed with tea and walnut ink and many more. I even have tags from clothing that were just too darn cool to throw away. I'll use them someday, I really will! :-)


Also in that box is another little box with little tags...round, oval, long and skinny ones, too. Again, I do admit to a little organizing before taking the photo!

How do you store your tags? Do you have a super cute way. Please let us know so we can be cute AND functional, too. :-)


Shirley

Wednesday, March 5, 2014

Organizing: Punches

Hey Craft Lovers!

It is Wednesday....so it is time to talk about storage and organizing.  This weeks topic is punches. :)  I must admit my punches are scattered around my craft room.  My border punches are in the plastic cart pictured below.  My basics shape punches are stored on my work table and all other stamps are in a separate plastic cart.  This would seem not to work, but it does.  I don't have very many punches anymore so it is easy for me to remember what I have.

I did find a number of wonderful storage ideas online and I have added them to our Pinterest Board.  Most of them fall into two categories.....behind the door shoe racks or shelves with doles on them to hold the punches.


For me how I organize my stamps is not as important as knowing what I have, especially when it comes to my basic shapes because those get the most use.  Last year I make this set of templates so I would know if  a punch would work with a specific stamp or embellishment.

I punched each of my basic shapes into a thin piece of plastic and then I labeled them.  I used blank quilter's template material for my think plastic....which you can purchase in any fabric store or the fabric department in a craft store.  You probably could also use product packaging...just make sure it is not too thick.  This saves me so much time.  I have a large selection of stamps and sentiments that work with circles or ovals and I can size them up easily.


Now it is your turn.  Do you have any tips or tricks to share?
Jeri'

Wednesday, January 29, 2014

Sizzix Storage

Happy Wednesday!

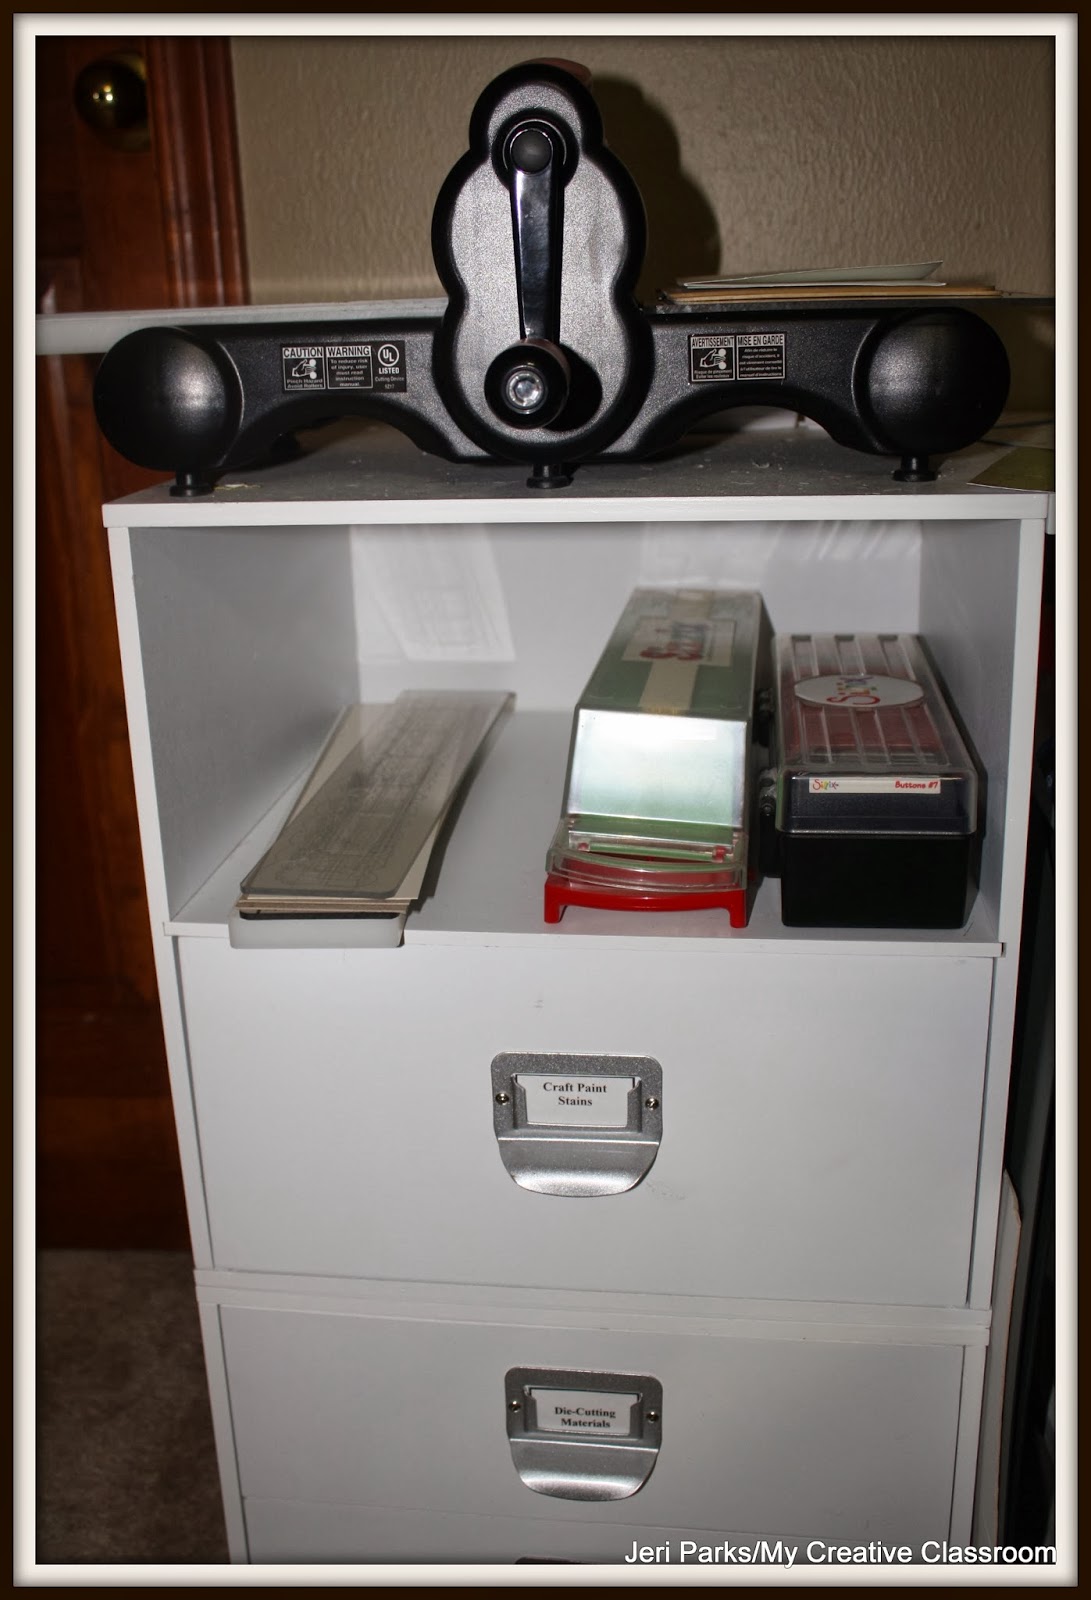
It is our day to talk organizing and storage.  I will admit my Sizzix storage is pretty old school.  While I have updated most of my other storage, this plastic drawer system still works well for my die storage.  So why change what works....I would rather spend money on news dies. :)  I am almost at full capacity with my storage as I also keep punches in this cart.  So I may need to make adjustments in the future.

I have updated the MCL Organization Board on Pinterest.  It now includes Spellbinders and Sizzix storage.  I was impressed with how creative some of the options are.  But then, we are very creative people. :)


While my steel-rule dies on are in the plastic storage bin pictured above, my border dies are next to it in my favorite crafting storage options. I have many of these modular units in my craft room, this one houses my border dies and die-cutting accessories. 


Sizzix also makes some wonderful storage cases too.  At the very top is my Big Shot.  One day I may upgrade it to an electronic version.  I use the machine so often that the hand cranking gets a bit old.

Thanks for stopping by,
Jeri'

Wednesday, January 22, 2014

Organizing Spellbinders

Happy Wednesday,

It is time to talk organization.  I have been 'collecting' Spellbinders dies for years now.  Through the years I have had many different systems for organizing them.  Some work better then others. :)  My final option was the one you see below.  It is a converted shoe tree.  I wish I could say the idea was mine, but I found online.....somewhere.  I actually have two of these shoe racks.  This one holds my low profile dies, embossing folders and some stamps from Tim Holtz and Just Rite Stampers.  The 2nd shoe tree holds stickers and other embellishments.  You can purchase them from Amazon and I believe they also make one that goes all the way to the ceiling.  Just think of how many dies that would hold.  I use the Clip it Up clips to hold what hangs from the tree.


I remove the dies from there packaging and place them in a heavy duty zip lock bag.  Again you can find these on Amazon.  I label each bag.  I also need to add hanging labels so I can sort them into categories.

r

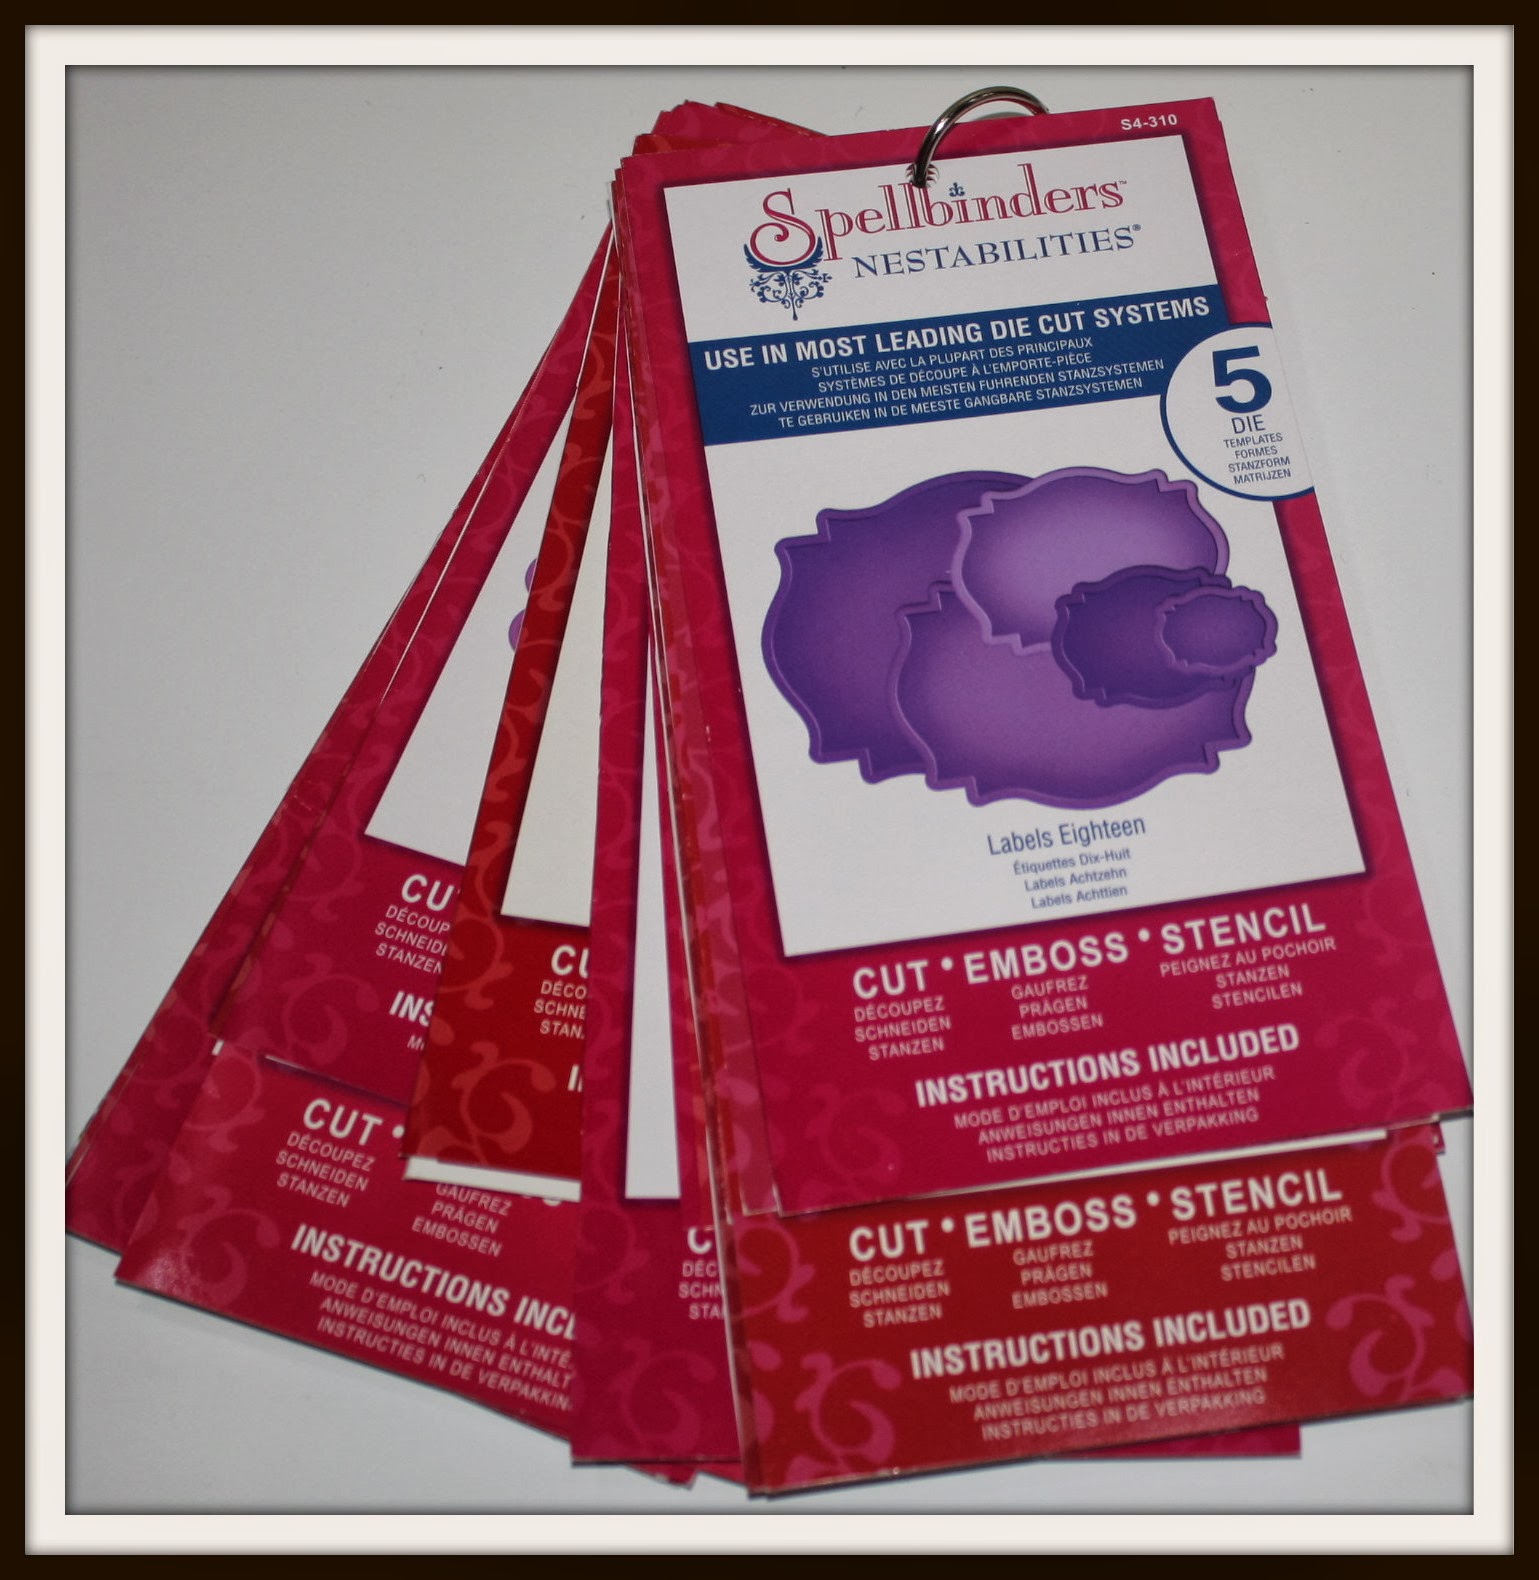
I then punch a hole in the the top of the cards that come with the dies and put them on a binder ring.  Yes...this means that I have a lot of dies.  Having the cards helps me easily find what I die will work for each project. I also store my dies from Just Rite Stampers, Papertry Ink and QuicKutz in the same fashion.  These are my favorite dies to use.  I find the can be easily adapted to almost any project.  Which is probably why I continue to buy more.  I just checked and Joann.com has them on sale again....shhhhhh don't tell my husband.  There is still more room on the tree. :)


So tell me.....how do you store your Spellbinders.
Jeri'